
Traditional joinery refers to the craft of connecting pieces of wood using interlocking shapes rather than modern mechanical fasteners like screws or nails. These techniques, such as mortise and tenon or dovetail joints, rely on wood-to-wood contact and glue to create durable, aesthetically pleasing structures that withstand seasonal movement and heavy loads.
Mastering these methods is essential for creating furniture that remains functional for generations. Unlike metal fasteners, which can loosen as wood expands and contracts with humidity, a well-executed joint becomes an integral part of the timber's structure. This approach requires a deep understanding of wood species, grain direction, and the specific tools needed to achieve a friction-fit finish.
Basics of Traditional Wood Joinery
At its foundation, traditional joinery is an exercise in geometry and patience. The goal is to maximize the surface area where wood fibers meet, providing a secure bond that resists tension and shear forces. Most traditional methods utilize the mechanical properties of the wood itself to lock components together. For instance, a dovetail joint uses a series of wedge-shaped cuts that physically prevent two boards from being pulled apart in one direction.
To begin working with traditional joints, a woodworker typically relies on a specific set of hand tools. These include a marking gauge for precise layout, a sharp chisel for clearing waste, and a fine-toothed saw—such as a Japanese pull saw or a Western back saw—for making accurate cuts. The precision of these tools allows for the tight tolerances required for a joint to hold without excessive glue. While modern adhesives play a role, the structural integrity should ideally come from the fit of the wood itself.
Understanding wood movement is another fundamental aspect. Because wood is a hygroscopic material, it breathes. It expands across the grain when the air is damp and shrinks when it is dry. Traditional joinery accounts for this by allowing certain parts of a piece, such as a tabletop or a raised panel in a door, to float within a frame rather than being pinned rigidly in place.
Mortise and Tenon: The Gold Standard of Strength
The mortise and tenon joint is perhaps the most widely used and respected technique in heritage woodworking. It consists of two components: the mortise (a rectangular hole or recess) and the tenon (a projecting tongue carved on the end of a mating piece). This configuration provides immense lateral strength and a large surface area for glue, making it the standard choice for table legs, chair rails, and door frames.
There are several variations of this joint depending on the application:
- Through Tenon: The tenon passes all the way through the mortised piece, exposing the end grain. This is often used for its decorative appeal and can be secured with a wooden wedge for extra stability.
- Blind Tenon: The tenon is shorter than the thickness of the mortised piece, meaning the joint is hidden from the outside. This is common in refined cabinetry where a clean look is preferred.
- Haunched Tenon: A small shoulder is left on the tenon to prevent the rail from twisting and to provide extra strength at the corner of a frame.
- Wedged Tenon: A small slit is cut into the tenon, and a wedge is driven in after assembly to flare the wood, creating a mechanical lock that is nearly impossible to pull apart.
Historically, this joint has been used in everything from ancient Egyptian furniture to heavy timber cathedrals. More technical details on the physics of these connections can be found on Wikipedia's guide to joinery.
Common Woodworking Joints for Beginner Projects
For those starting their journey into heritage craft, it is best to master a few versatile joints before moving on to complex compound angles. The butt joint is the simplest, where two pieces meet at a right angle, but in traditional work, this is usually reinforced with wooden dowels or biscuits to provide the necessary surface area for bonding.
The lap joint is another excellent starting point. In this method, half the thickness of each board is removed so they overlap flush with one another. This is frequently seen in simple frames or cross-bracing for rustic furniture. It provides a significant improvement over a basic butt joint because it exposes long-grain to long-grain contact, which is the strongest surface for wood glue to adhere to. This focus on durability is why we still value the human touch in every piece we design, ensuring that even simple joints are cut with intention.
The bridle joint is also accessible for beginners. It is similar to a mortise and tenon but features an open-ended mortise. It is commonly used in workbench construction and heavy frames where the joint will be visible from three sides. Practicing these allows a maker to develop the muscle memory needed for more delicate tasks, such as hand-cutting dovetails for a small jewelry box or a dresser drawer.
Timber Framing and Post-and-Beam Construction
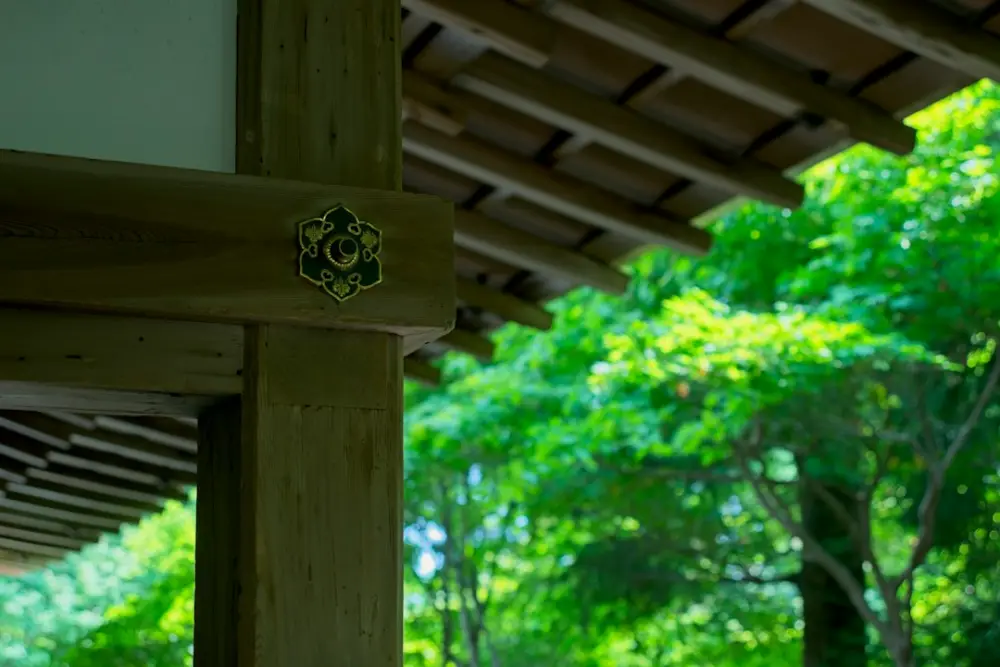
While furniture joinery focuses on fine details and smooth finishes, timber framing applies these same principles to the scale of entire buildings. In post-and-beam construction, massive logs or squared timbers are joined using oversized mortise and tenon joints, often secured with large wooden pegs known as treenails or trunnels. This method eliminates the need for metal brackets or bolts, creating a skeleton that can last for centuries.
A key feature in timber framing is the scarf joint, used to join two timbers end-to-end to create a longer beam. These joints are often intricate, involving interlocking teeth and wedges that maintain the beam's structural integrity under tension and compression. This type of joinery requires a deep understanding of structural loads and the specific properties of hardwoods like oak or softwoods like Douglas fir.
In a modern home, incorporating timber framing elements adds a sense of permanence and architectural weight. It connects the interior space to the history of the building trade, emphasizing the raw beauty of the material. This commitment to longevity and natural materials is a cornerstone of sustainable interior design: principles of ethical building that prioritize quality over disposable trends.
How to Choose the Best Joint for Your Build
Selecting the right joint depends on three main factors: the direction of the load, the type of wood being used, and the desired aesthetic. If a piece of furniture needs to resist being pulled apart—like the front of a drawer—a dovetail is the superior choice. If the joint needs to support heavy downward weight, such as a bed frame, a deep mortise and tenon is more appropriate.
You must also consider the species of wood. Softwoods like pine are more forgiving but can crush easily if a joint is too tight. Hardwoods like walnut or cherry allow for incredibly crisp, sharp joinery but require sharper tools and more precision, as they are less compressible. Always test the fit of your joints before applying glue; a perfect joint should slide together with firm hand pressure or a light tap from a rubber mallet, but should not fall apart under its own weight.
For those designing thoughtful interiors, the choice of joinery can also be a decorative decision. Exposed joinery, such as a through-tenon with a contrasting wood wedge, acts as a functional ornament. It tells the story of how the object was made, inviting the user to appreciate the skill involved in its creation.
Joinery Categories and Recent Woodworking Posts
To better organize a project, it helps to categorize joints by their primary function. Most traditional woodworking falls into one of three categories:
- Framing Joinery: Used for structures like doors, windows, and table bases. Examples include mortise and tenon, bridle joints, and miter joints with splines.
- Carcase Joinery: Used for building boxes, cabinets, and chests. This includes dovetails, dadoes, and rabbets. These joints must handle the stresses of holding heavy contents while maintaining squareness.
- Edge Joinery: Used to glue boards side-by-side to create wider panels for tabletops or cabinet sides. Tongue and groove or simple rubbed joints are the standard here.
By categorizing your work, you can focus on the specific tools and jigs needed for that phase of the build. For example, edge joinery requires long clamps and a perfectly jointed edge, whereas carcase joinery requires precise layout of multiple interlocking tails and pins.
Search our Site for More Woodworking Resources
Understanding the technical side of woodworking is only the beginning. Applying these methods to a living space requires a balance between structural necessity and visual harmony. Whether you are a hobbyist looking to refine your chisel work or a homeowner seeking to understand the value of handcrafted furniture, the principles of traditional joinery offer a pathway to more intentional living.
At Bottega Michelangeli, we believe that the way an object is joined speaks volumes about its character. A chair is not just a place to sit; it is a collection of carefully calculated connections that represent a commitment to heritage craftsmanship. By choosing traditional methods over mass-produced alternatives, you are supporting a legacy of quality and a more thoughtful approach to the objects we bring into our homes. Explore our further resources to learn more about how these timeless techniques continue to shape modern interiors and inspire communities of makers worldwide.